
Dockerise a Django application - Part 1
Setting up a project doesn't have to be painful. Using docker containers in your development environment can have some pretty sweet benefits. Containerising your Django app and its dependencies might take a little longer than some blog posts claim, but we have you covered.
Here is a 7-part series on how we set up and dockerise every new Django project at Webinative.
- Part 1 - Setting up the project
- Part 2 - Adding useful third-party apps
- Part 3 - Abstracting environment variables
- Part 4 - Containerising the application
- Part 5 - Setting up a python debugger
- Part 6 - Setting up a Postgres DB container
- Part 7 - Setting up a Mailhog container
In Part 01, we'll cover how to:
- Create a new django project
- Create a new core app within our project
- Customise the project's
Usermodel - Customise
UserAdminfor our customUsermodel
You can skip to Part 02 if you are not interested in the detailed instructions in the rest of the article.
Create a Django project
Let's create our new Django project inside the ~/Dev/dockerise-django folder.
# change to $HOME folder
cd ~

# create "Dev" and "dockerise_django" folders
mkdir -p Dev/dockerise-django

# change into our destination folder
cd Dev/dockerise-django
Next, we'll create a new virtual environment, install Django and create our project.
# create a virtual environment named "dockerise_django"
mkvirtualenv dockerise_django

# the virtual environment is activated automatically upon successful creation

# install the latest LTS version of django
pip install django==3.2.16

# create a new django-project named "dockerise_django" in the current folder
# note the trailing dot in the command below
django-admin startproject dockerise_django .
IMPORTANT: For the rest of the article, run all terminal/shell commands within the virtual environment.
You should now see a folder named dockerise_django and a file named manage.py created in the current folder.

Create the core app
Create a new Django app named core within our project using the command,
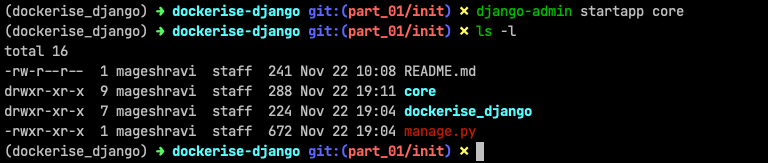
django-admin startapp core
You should now see a folder named core created in the current folder.
Open the current folder ~/Dev/dockerise-django/ in your favourite code editor. I'll be using VisualStudio Code.
# opens the current folder in visual-studio code
code .
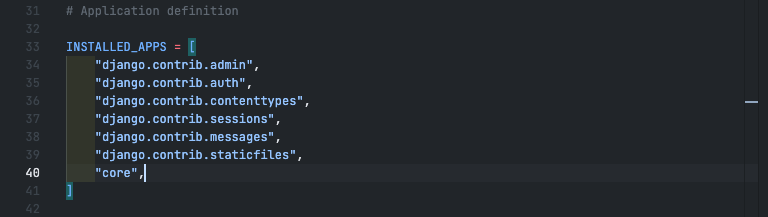
Open the dockerise_django/settings.py file, locate the INSTALLED_APPS setting and add the newly created core app. This setting installs the core app in our project.
INSTALLED_APPS = [
  ...
  "core",
]
Customise User model
Next, we'll substitute django's built-in User model. Though this step is not necessary for dockerising a Django app, it has various benefits in the long run.
Open the core/models.py file and add the following lines,
from django.contrib.auth.models import AbstractUser
from django.db import models


class User(AbstractUser):
    """Custom user model for dockerise_django project"""

    class Meta:
        db_table = 'dd_users'

    def __str__(self) -> str:
        return self.username
Next, we'll configure our project to use the newly defined User model. In the dockerise_django/settings.py file, add the following line.
AUTH_USER_MODEL = "core.User"
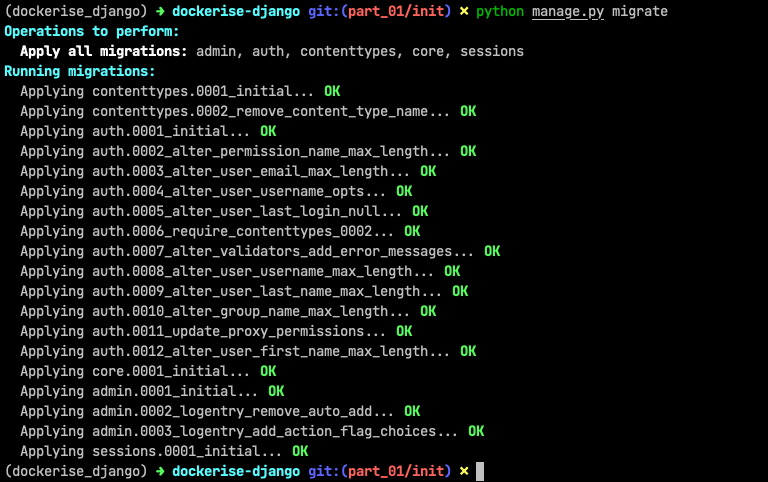
Then, we'll create the database migrations and run them. In your terminal, run the following commands,
# make migrations
python manage.py makemigrations

# migrate changes to database
python manage.py migrate

First-run
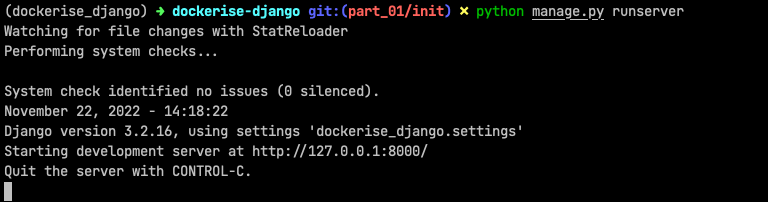
Let's run the app now to ensure our customisations did not break anything unintended. In your terminal, with your virtual environment activated, run the following command,
python manage.py runserver
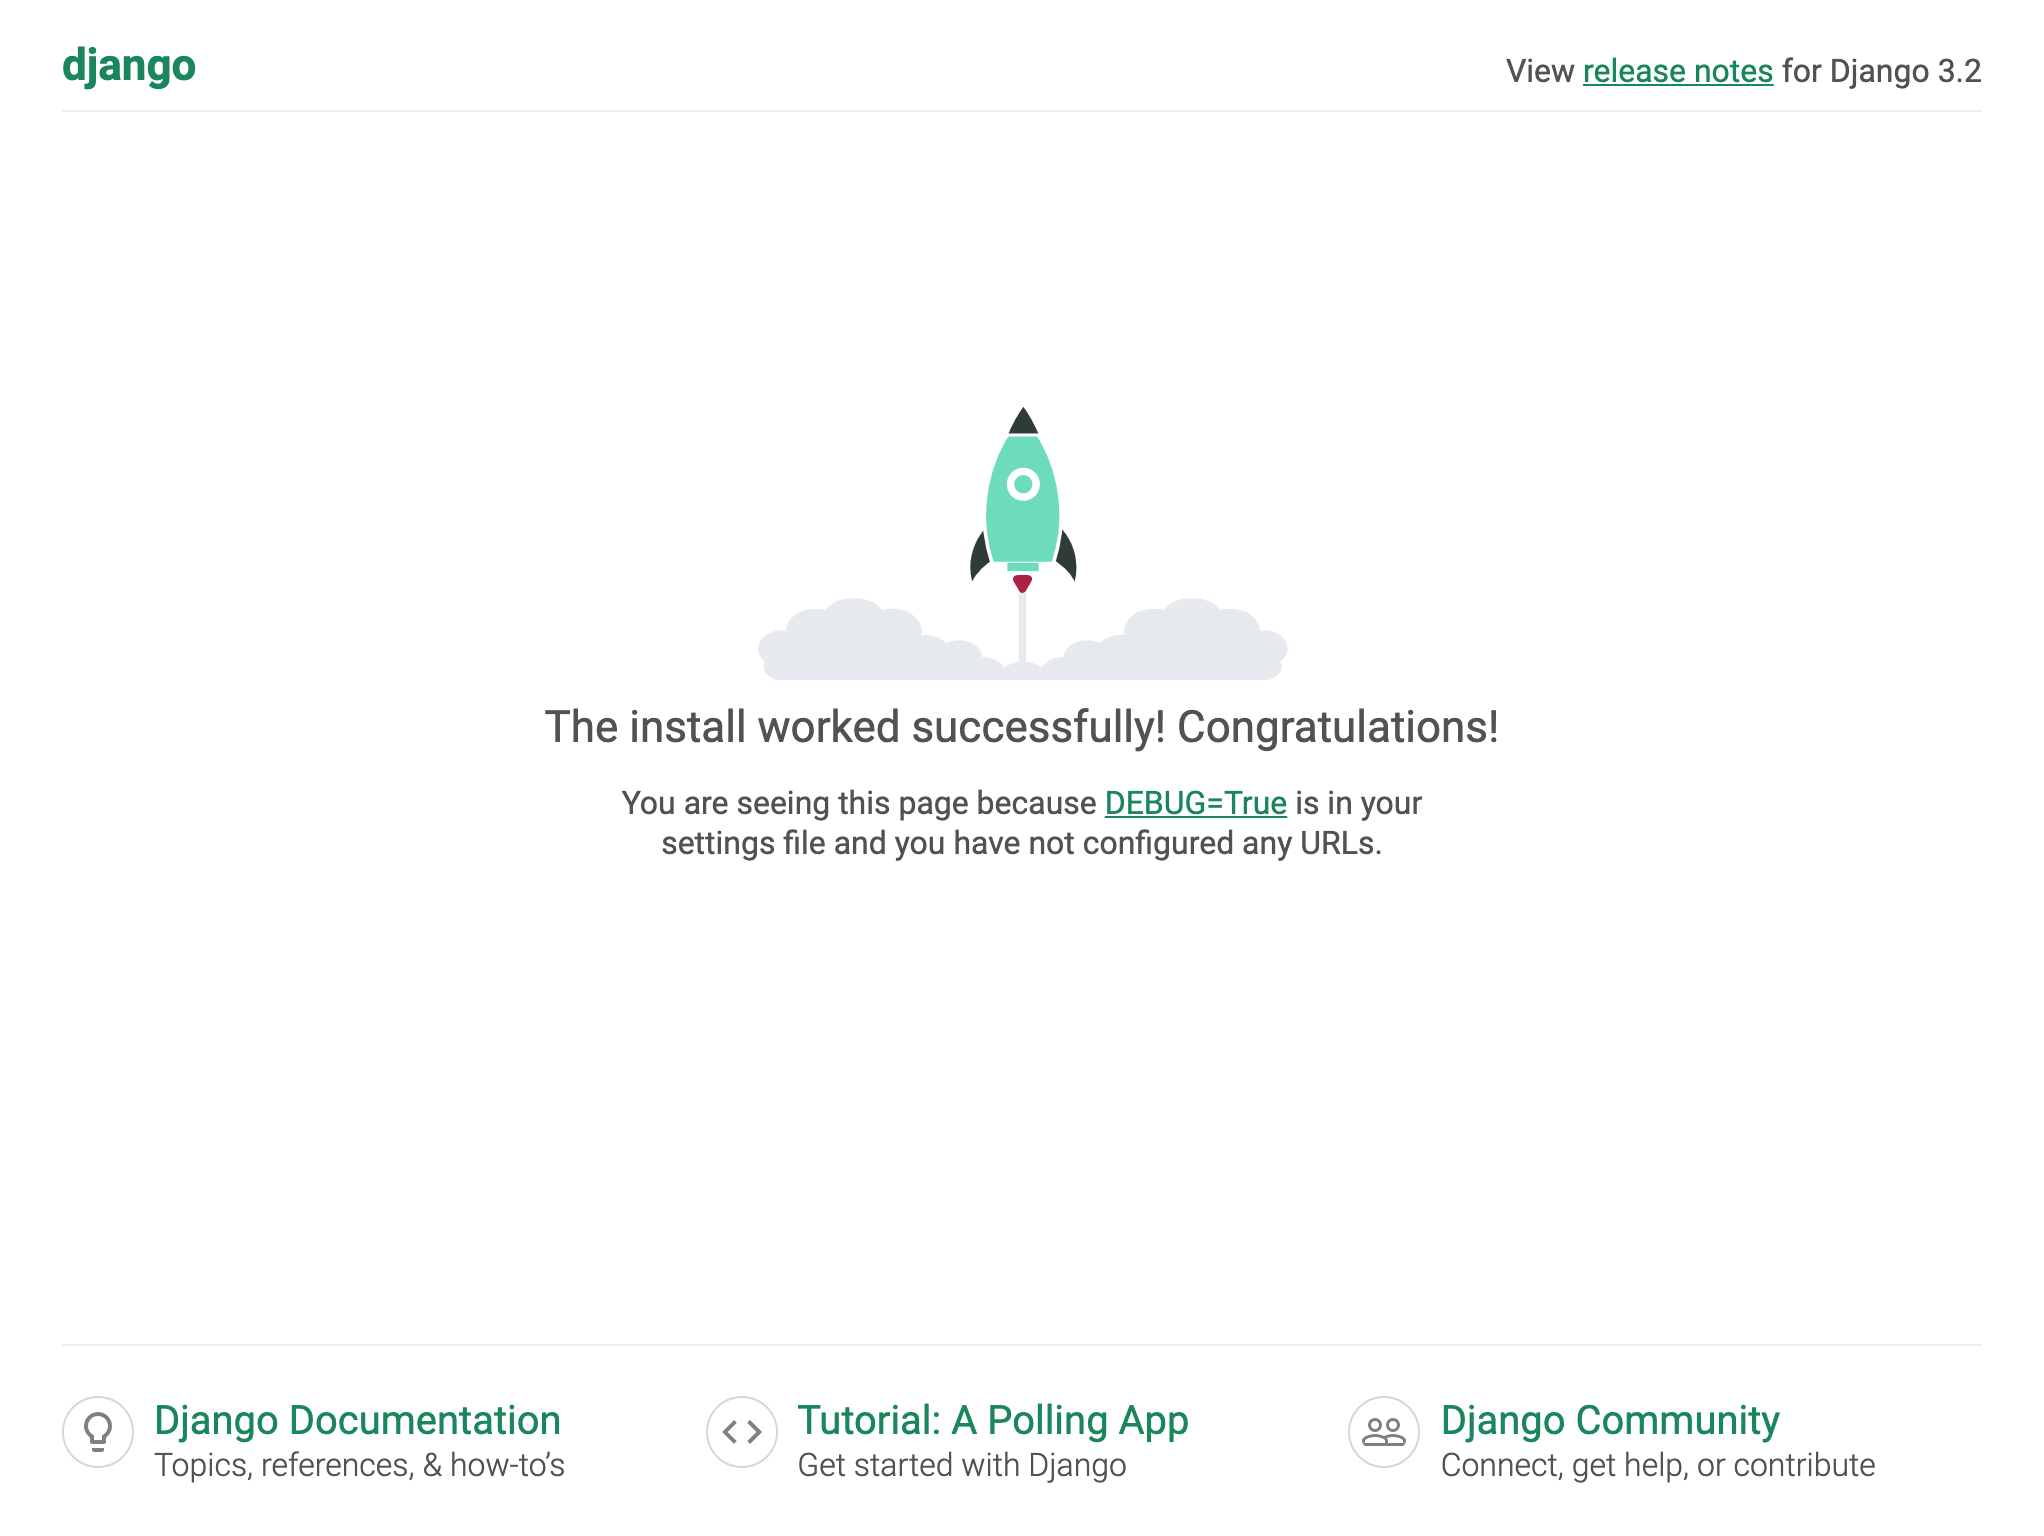
In your browser, visit http://localhost:8000/. You should see a page similar to the screenshot below.
Customise UserAdmin
We have successfully substituted Django's built-in User model with our User model. To ensure our newly created User model works well with Django's admin panel, we must extend/customise the built-in UserAdmin class.
Open the core/admin.py file and add the following lines,
from django.contrib import admin
from django.contrib.auth.admin import UserAdmin

from .models import User


@admin.register(User)
class CoreUserAdmin(UserAdmin):
    """Custom UserAdmin for core.User model"""

    list_display = ["username", "is_active", "is_staff", "is_superuser"]
    list_filter = ("is_staff",)
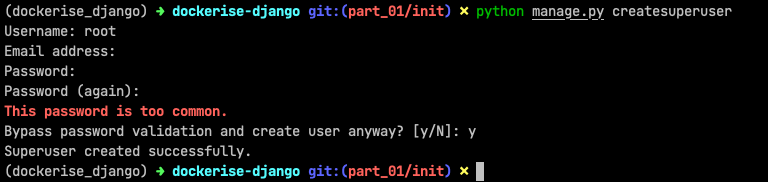
Next, we'll create a new superuser to login into Django's admin panel and test the CoreUserAdmin configuration.
# Press Ctrl+C to stop the runserver command

# create superuser
python manage.py createsuperuser

# follow instructions on screen
# for this article, we created a superuser named "root".
Run the application,
python manage.py runserver
Open your browser and visit http://localhost:8000/admin/. Login with the newly created superuser's credentials.
Admin login page: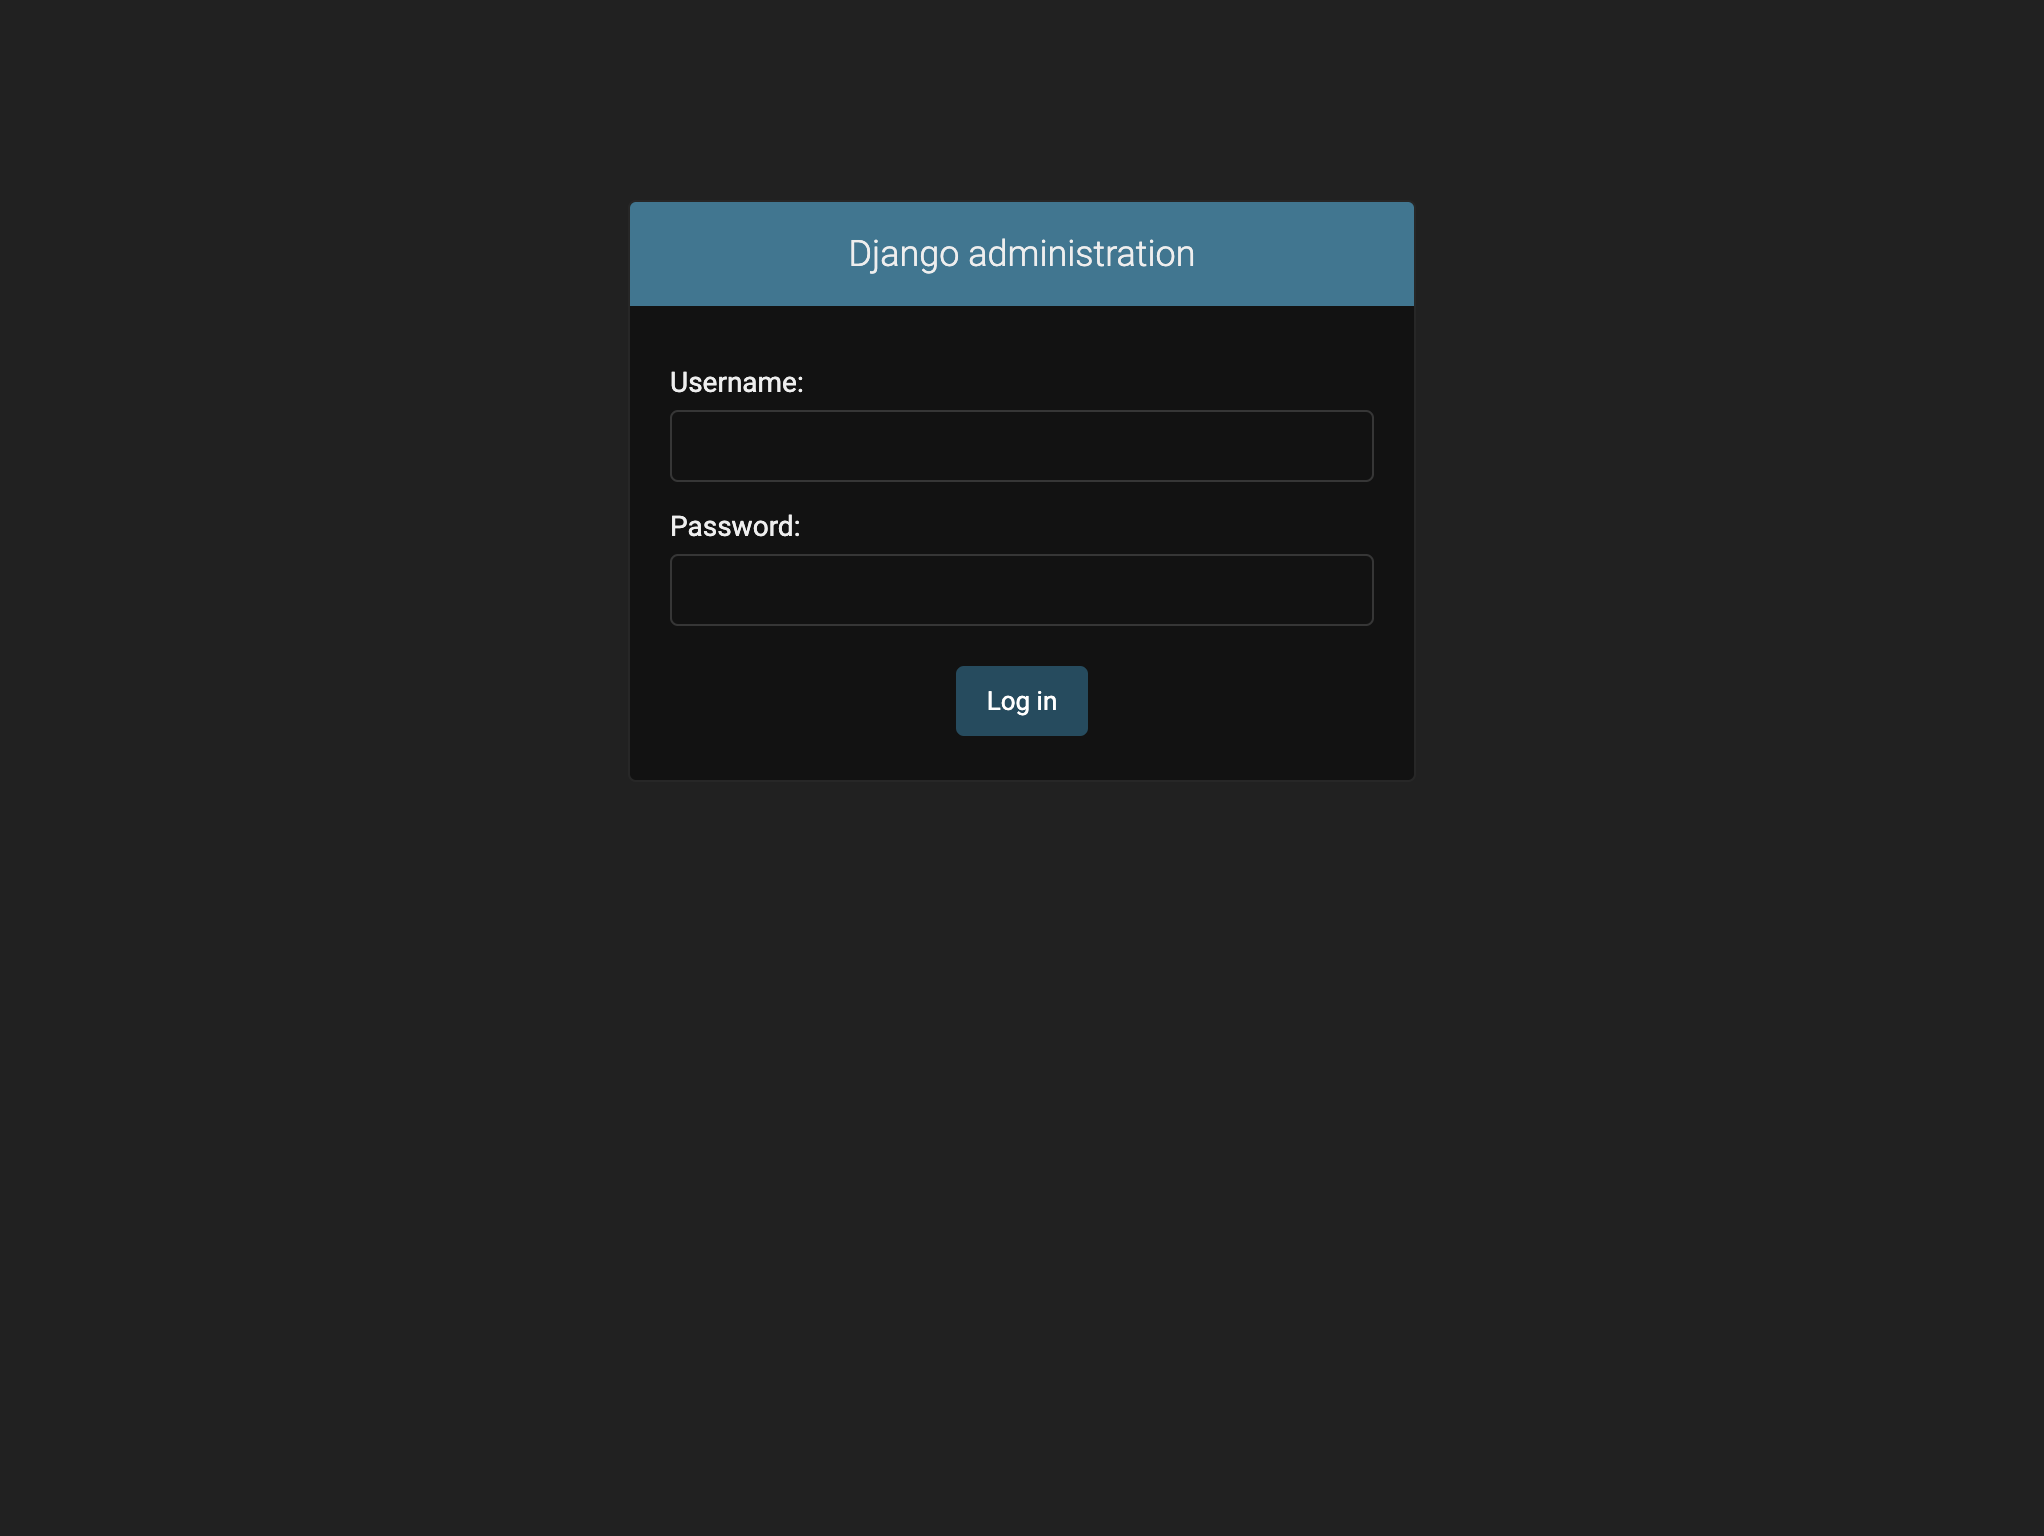
Admin home page: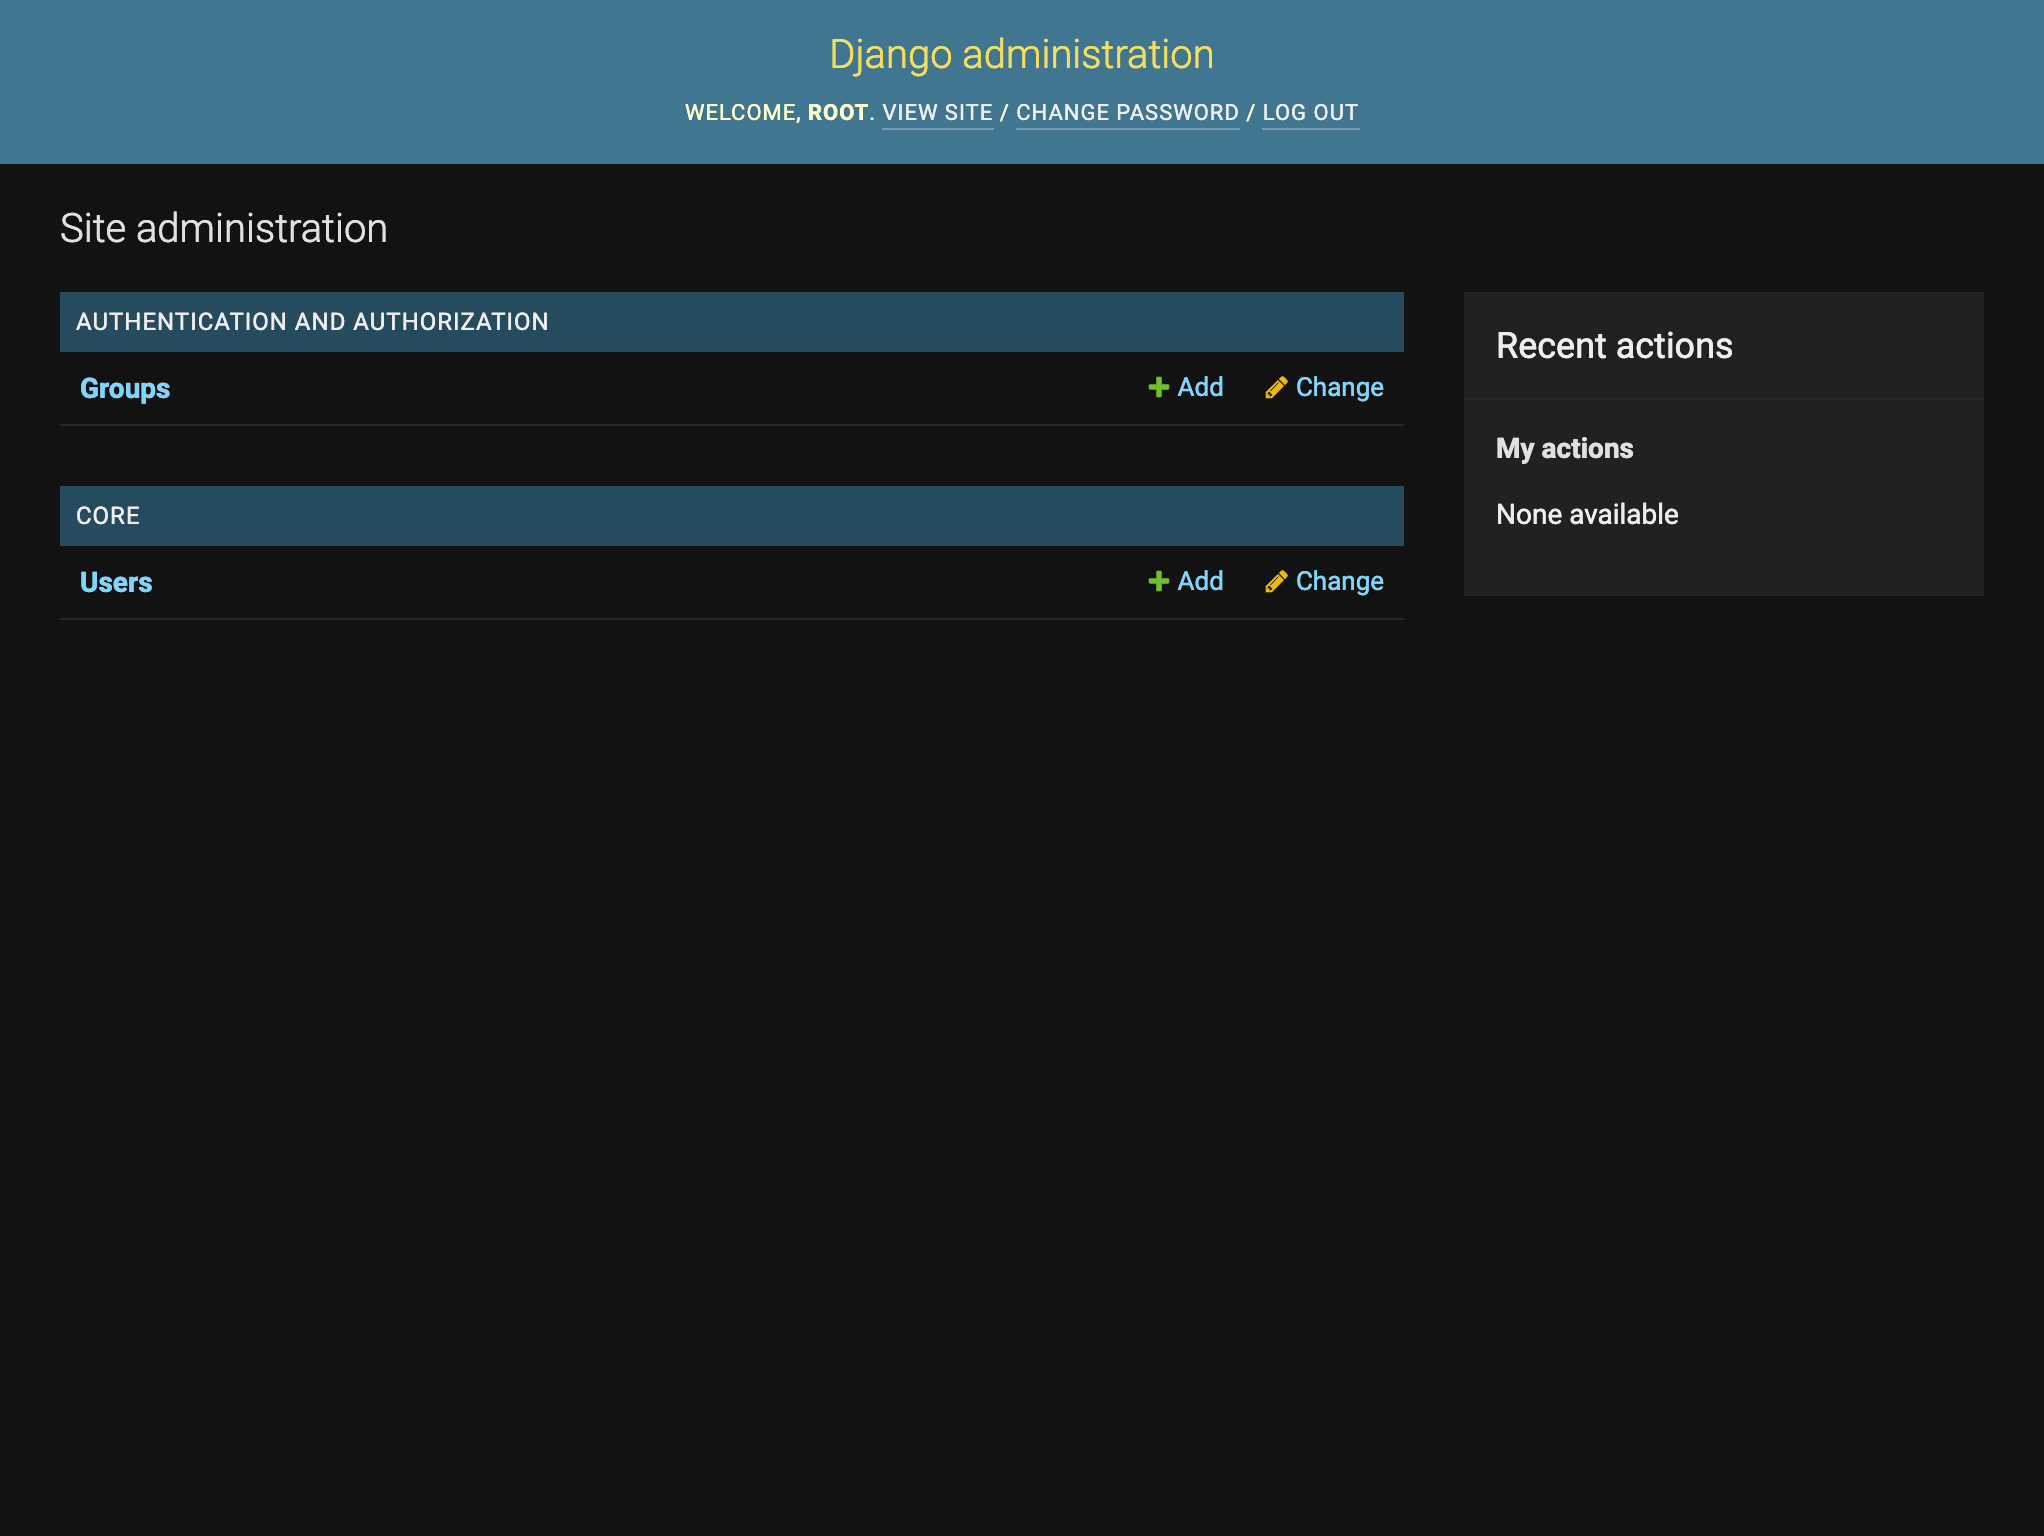
Admin - List users page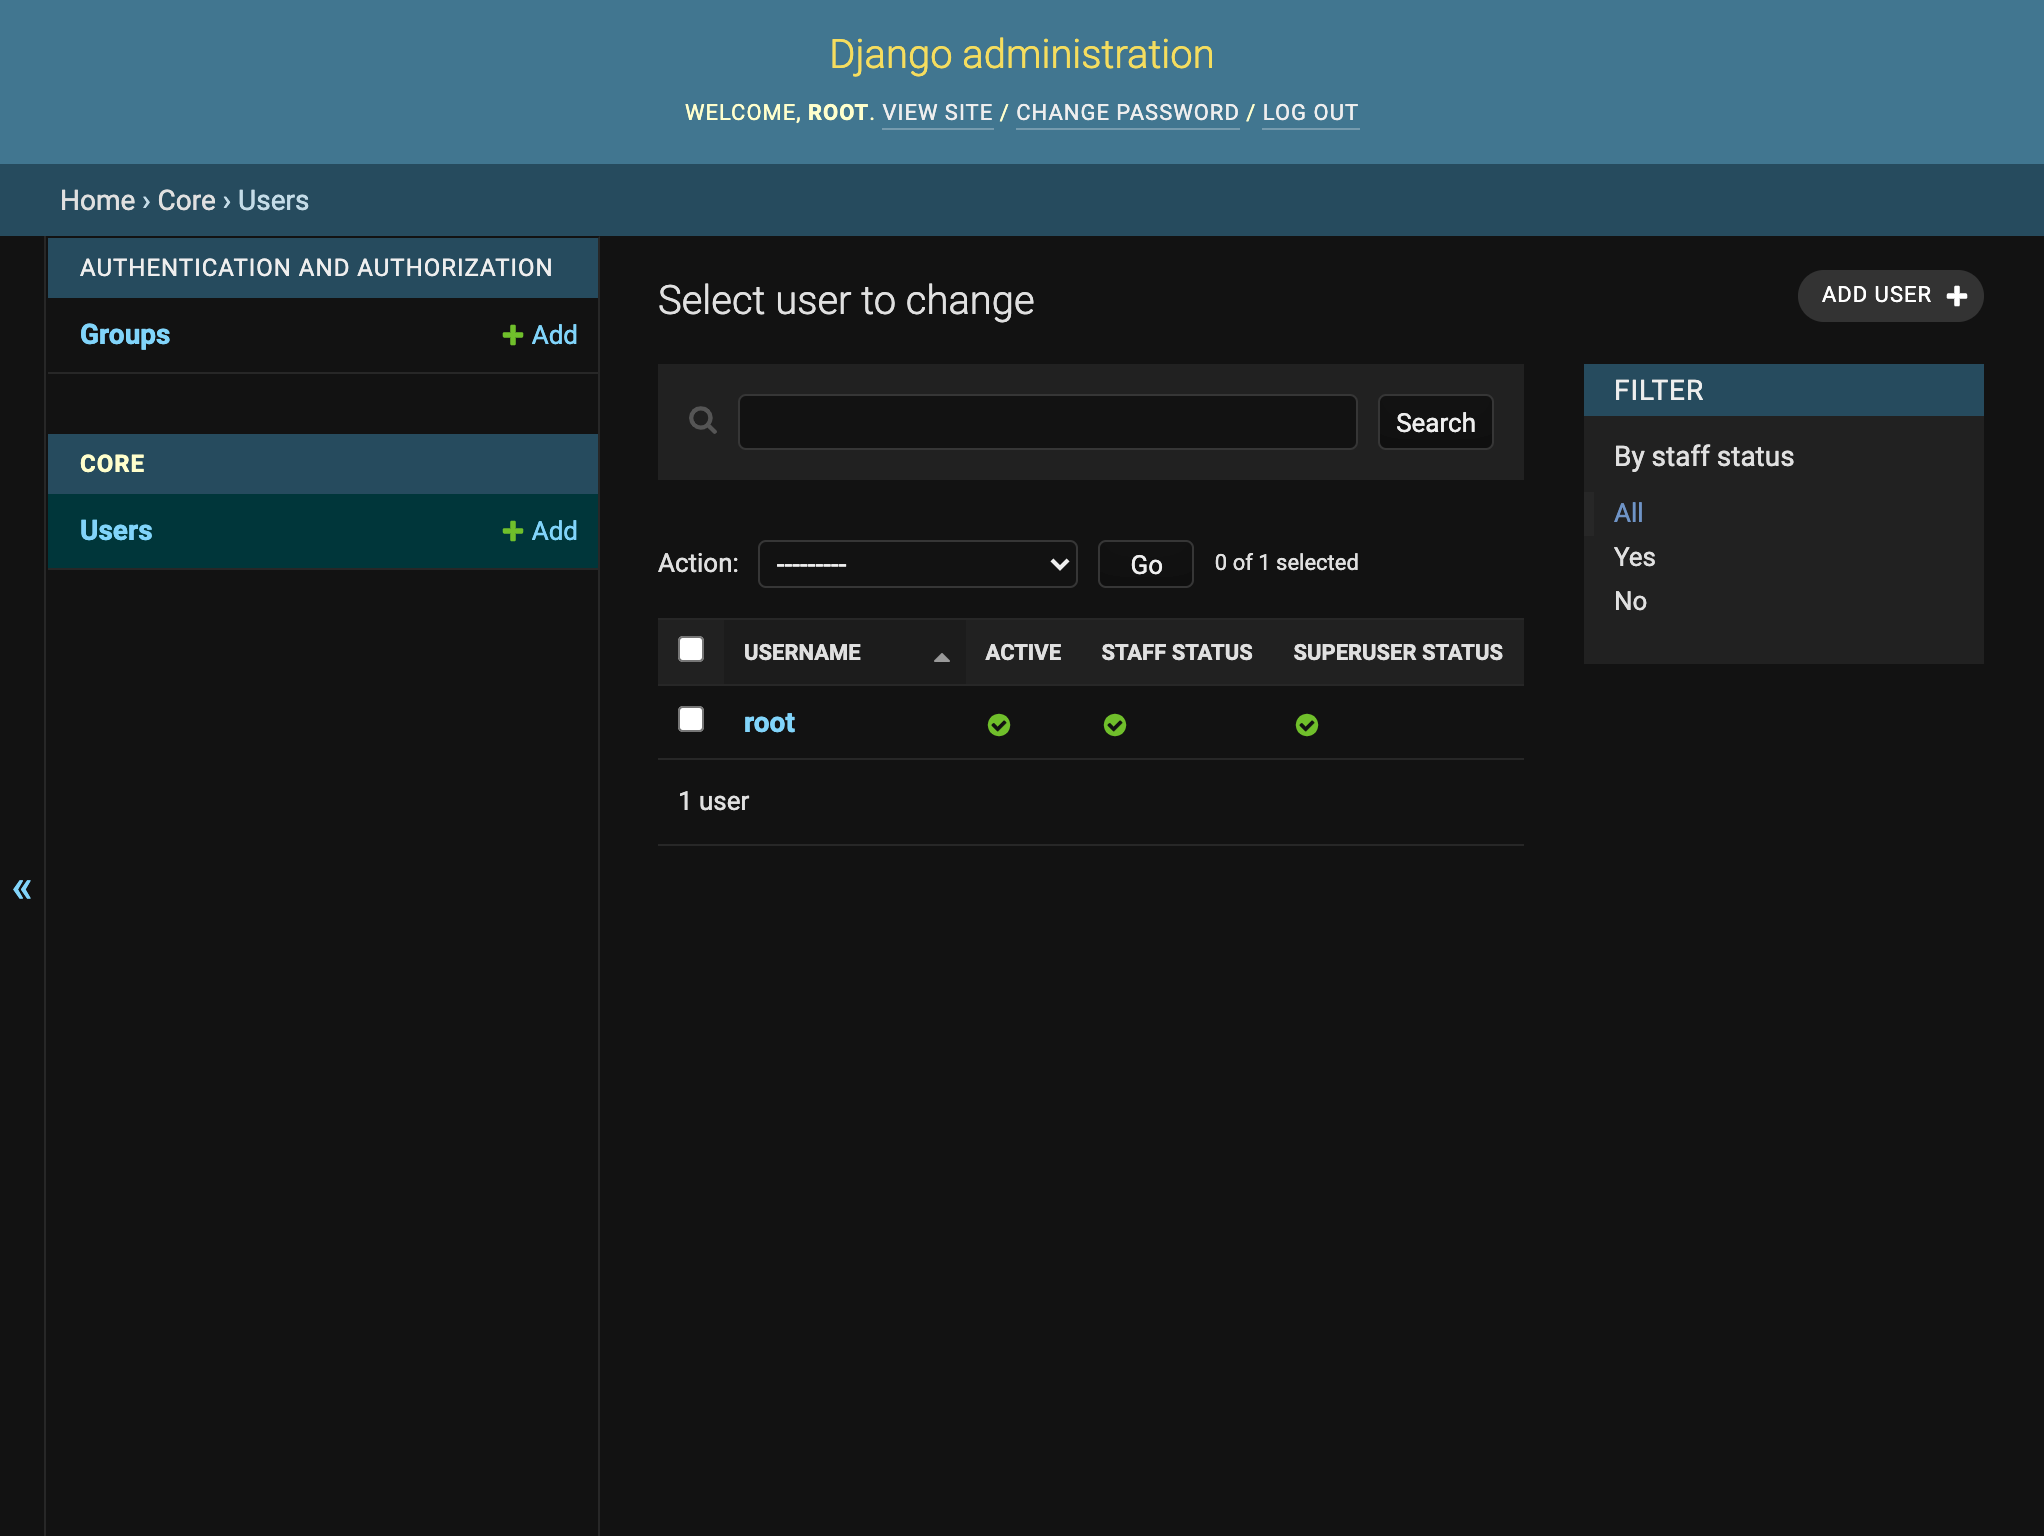
Admin - Change user page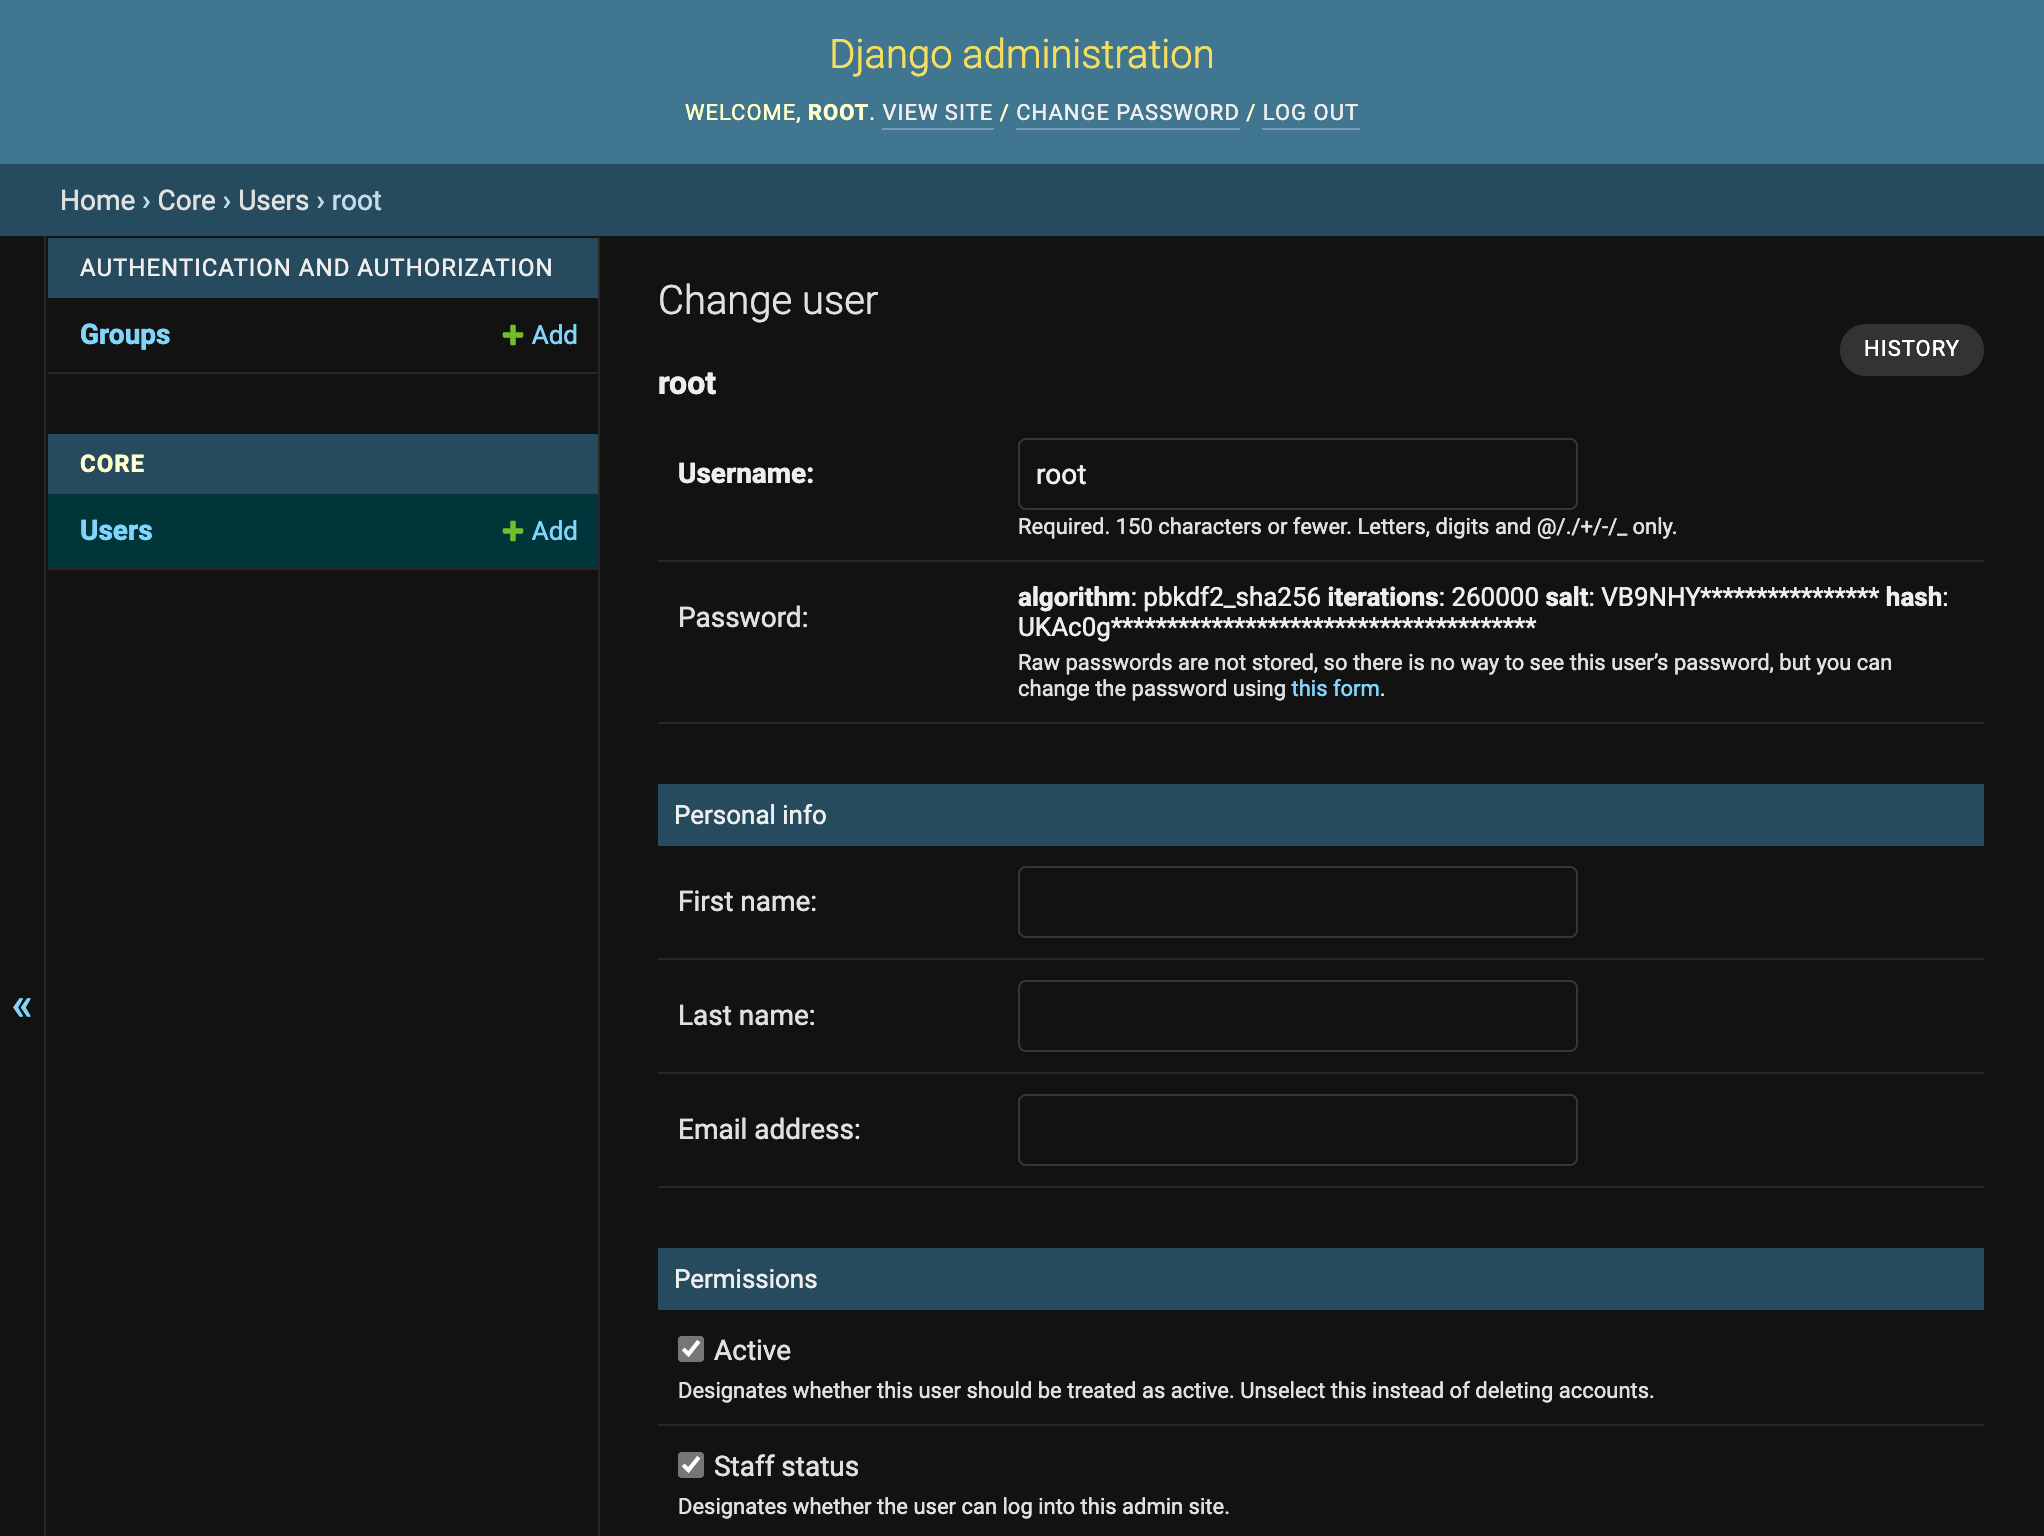
In the change user page, next to the password field, you should see a link to the change password form. If you see a text input box instead, your configuration could be incorrect and needs rechecking.
If everything works as intended, then congratulations. You have made it to the end of part 01.
To summarise, we created a new Django project with a core app and custom User model. We implemented a custom UserAdmin. We verified these configurations work together as intended by logging into the Django admin panel.
All changes described in this post have been committed to the GitHub branch part_01/init of this repository.
Like this article? Have a comment to share or a question to raise? Join our Discord server.